
Blog
How to Post (and Upload) a Carousel on LinkedIn in 2026 — Step-by-Step
Learn how to upload and post a carousel on LinkedIn step-by-step. Upload PDF documents, format slides, write captions, and maximize reach on desktop and mobile.
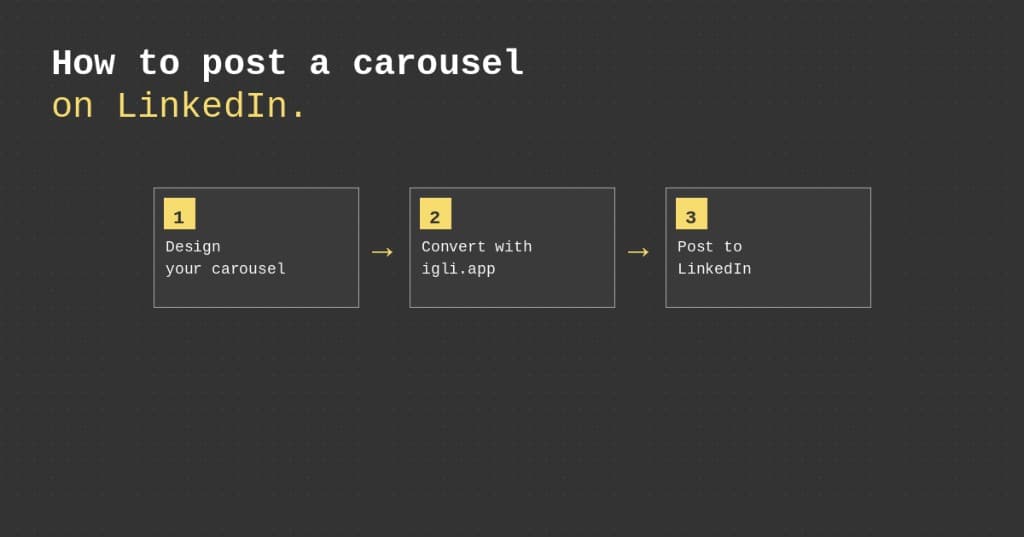
LinkedIn carousels (also called "document posts") are consistently among the highest-reach content formats on the platform. They keep viewers engaged, get saved and reshared, and signal to the algorithm that your content is worth distributing.
Here's exactly how to post one.
What You Need Before You Start
LinkedIn doesn't let you upload images as a carousel the way Instagram does. Instead, LinkedIn carousels are PDF files that display as a swipeable document inside the feed.
This means before you can post, you need:
- A PDF file with your carousel slides (one slide per page)
- Slides formatted at 1080×1080px (square) or 1920×1080px (landscape) for best display quality
If you're building your carousel from scratch, tools like Canva let you design and export a multi-page PDF directly. If you're repurposing an Instagram carousel, a tool like igli converts and reformats your slides automatically. (Not sure what size to use? See the LinkedIn carousel specs guide.)
Need a LinkedIn-ready PDF first?
Turn your Instagram carousel images into a properly sized LinkedIn PDF in about 30 seconds, then follow the steps below to upload it.
Step-by-Step: How to Post a LinkedIn Carousel
Step 1: Go to the LinkedIn post composer
On desktop, click the "Start a post" box at the top of your LinkedIn feed. On mobile, tap the "+" icon at the bottom of the screen, then select "Post."
Step 2: Click the document icon
In the post composer, look for the attachment icons below the text field. Click the document/page icon (it looks like a page with a folded corner). This is how LinkedIn carousels are uploaded — not through the image or media icons.
Step 3: Upload your PDF
Select your PDF file. LinkedIn will process it and display a preview of the first slide. You'll see how many pages/slides are in the document.
Step 4: Add a title
LinkedIn requires a document title before you can post. This appears above the carousel in the feed and is separate from your post caption. Make it descriptive and include your main keyword if relevant — it's visible in search.
Step 5: Write your caption
Unlike Instagram, LinkedIn captions work best when they're longer and more narrative. The first 2–3 lines appear before the "see more" fold, so lead with something compelling.
Strong LinkedIn caption structure:
- Hook line — a bold statement, surprising stat, or direct question
- Context — 2–4 lines setting up what's in the carousel
- CTA — invite comments, shares, or follows ("What would you add? Drop it below.")
Step 6: Publish
Click "Post." Your carousel goes live and will begin reaching your network and beyond based on early engagement signals.
How to Upload a Carousel on LinkedIn (Mobile vs. Desktop)
The upload flow is slightly different depending on where you post from:
- Desktop: Click Start a post → the document icon (📄) below the text box, then select your PDF. Desktop gives you the most reliable preview and the easiest caption editing.
- Mobile app: Tap the "+" / Post button → "Add a document" (you may need to tap the "..." more menu), then choose your PDF from your files. On iOS you can upload straight from the Files app; on Android, from your Downloads or Drive.
Either way, the key is the document upload — not the photo/image upload. Uploading slides as images posts them as a regular gallery, not a swipeable carousel.
How Many Slides Should a LinkedIn Carousel Have?
LinkedIn allows up to 300 pages in a document post. The practical sweet spot for engagement is 8–15 slides.
- Fewer than 5 slides often doesn't get enough swipe engagement to signal value to the algorithm.
- More than 20 slides can see engagement drop off as viewers abandon before the end.
- 10–12 slides is a common high-performer — enough to deliver a complete idea without exhausting the viewer.
Tips for LinkedIn Carousels That Get Reach
Make slide 1 your entire pitch. The first slide is your thumbnail. It needs to communicate the topic, the value, and the reason to swipe — in under 3 seconds. Don't waste it on a logo or a generic title.
Use large, readable text. LinkedIn renders carousels in a relatively small viewer on desktop. Text that looks fine at full size on Instagram may be unreadable as a LinkedIn document. Prioritize legibility.
End with a clear next step. The final slide should always have a CTA. "Follow me for more," "DM me," "Comment your answer below," "Link in bio" (for driving to a URL). Don't let viewers swipe off the end with no direction.
Captions drive reach as much as the carousel itself. On LinkedIn, your written caption is indexed and distributed. A strong caption can pull in viewers who wouldn't have engaged with the document alone.
Coming From Instagram? Here's the Shortcut
If you already create Instagram carousels, you have a library of LinkedIn carousel content ready to go. The only barrier is the format difference — Instagram uses portrait-ratio images; LinkedIn needs a square or landscape PDF.
igli converts your Instagram carousel slides into a LinkedIn-ready PDF automatically. Upload your slides, get your PDF, post to LinkedIn. The whole process takes about 30 seconds. (New to repurposing? Start with our Instagram-to-LinkedIn repurposing guide.)
Frequently Asked Questions
How do I post a carousel on LinkedIn?
Click Start a post, select the document icon (📄), upload your PDF, add a document title and caption, then publish. LinkedIn renders the PDF as a swipeable carousel in the feed.
Why can't I upload my carousel as images?
LinkedIn only treats document (PDF) uploads as carousels. Images uploaded through the photo button post as a static gallery, not a swipeable carousel.
What's the best file format for a LinkedIn carousel?
A PDF with embedded fonts. It preserves your layout and renders consistently across mobile and desktop. See the full LinkedIn carousel specs.
Can I turn my Instagram carousel into a LinkedIn carousel?
Yes — reformat the slides to 1:1 or 16:9 and merge them into a PDF. igli does this automatically in about 30 seconds.
Turn your carousel into a LinkedIn PDF
Drag in your Instagram slides and get a LinkedIn-ready PDF in about 30 seconds. Free to try, no account needed.